
Milk Painted Mason Jars
And im back…is anyone out there still?!
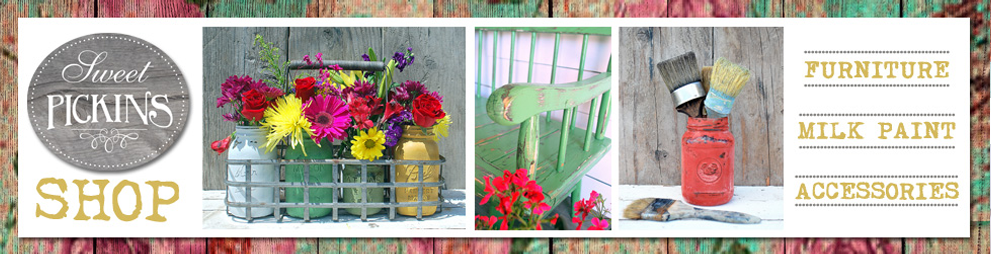
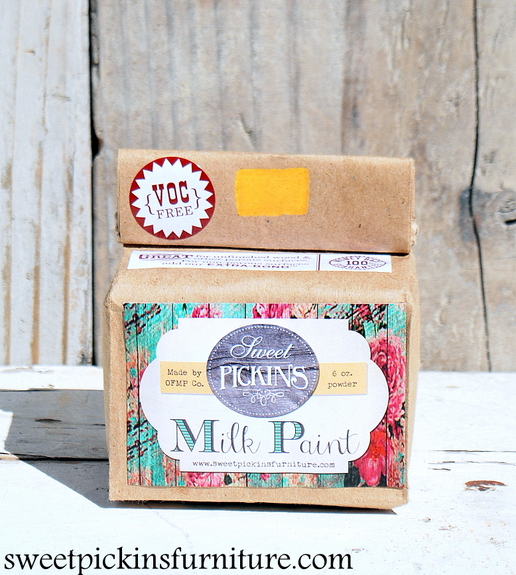
My Sweet Pickins Shop is now open – we are still working out some kinks and still working on updating some things, but you can now go here to purchase Sweet Pickins Milk Paint and brushes. Im really excited about this next step and cant wait until its fully up and running.
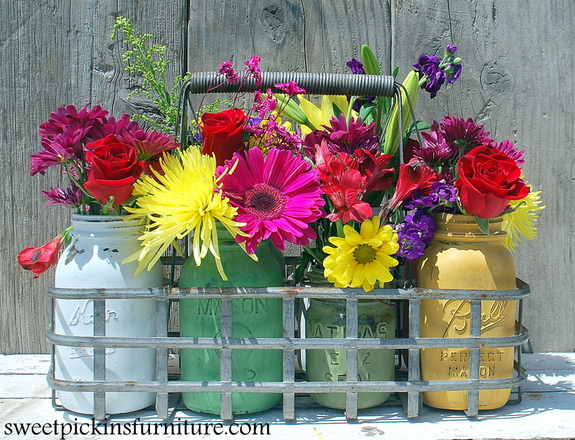
If you follow me on Facebook (where i havent disappeared and still keep in touch with the outside world!!) – you will have seen these painted mason jars that i did about a month ago. This is one of my favorite all time pics that i have ever taken. I LOVE fresh colorful flowers, i LOVE mason jars, i LOVE any old metal, i LOVE old gray weathered wood and i LOVE my milk painted jars – so this picture was pure perfection. It just makes me happy :)
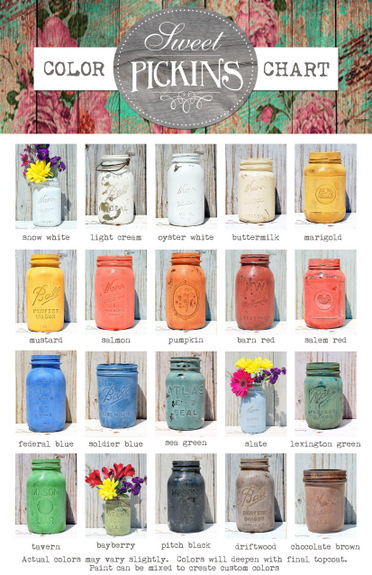
After posting the above pic to my FB page and my finished color chart for my milk paint colors, i started getting questions on how i went about painting the jars.
I wasnt planning on doing any type of tutorial on my blog, so i really didnt take too many detailed pics. But, its pretty self explanatory.
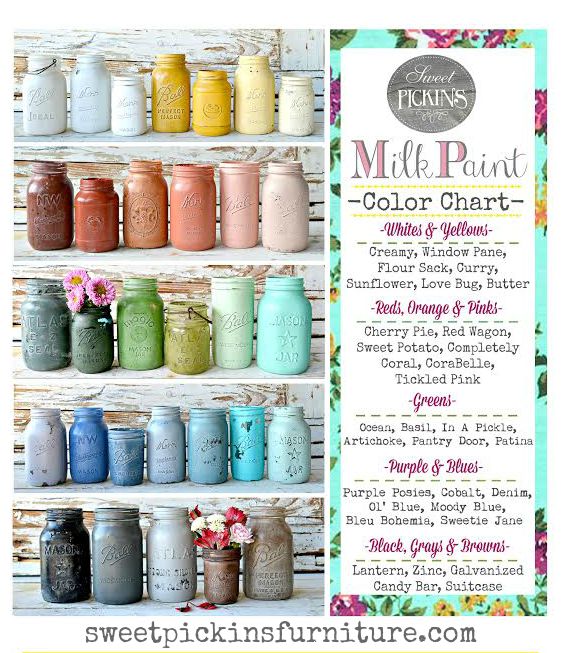
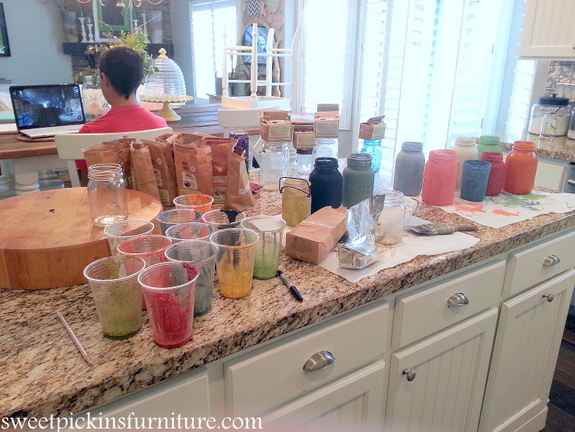
I gathered up all my milk paint colors, 20 jars in different shapes and sizes, some plastic cups and went to work painting. I didnt clean/prep the jars or anything – i just painted right over anything that may have been on them. Overall they were pretty clean and im not planning on storing food or anything in them – so i wasnt worried about any dirt. My jars were older ones that have had a lot of use and been around for years.
I used straight milk paint, i did not add any Extra Bond to my paint because i wanted them to naturally chip if they were going to. Surprisingly, they really didnt chip at all and the paint really bonded to the glass. I was really surprised at how well the paint adhered and now its not going anywhere! I cant believe how durable milk paint is.
Edited to add – i have found when painting older jars that have dirt on them, or washed before its ok to skip the bond and the paint adheres really well. But, when painting new jars that have never been washed or handled, you need to add the Extra Bond for the paint to adhere.
I just gave each jar 2 coats of paint, letting them dry about an hour between each coat.
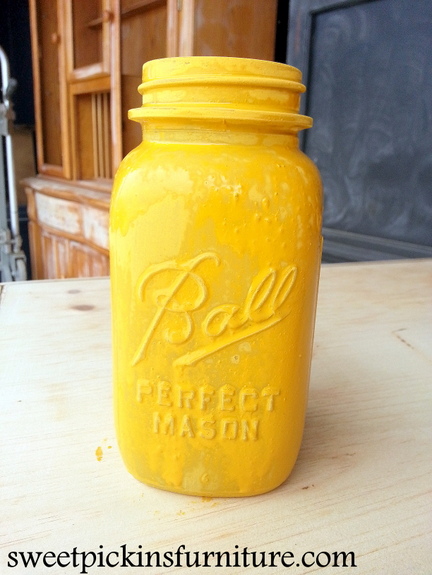
After the jars were completely dry, i used a sanding block and sanded each one until smooth and the distressing looked good. I really like how the distressing picked up on the details of the jars.

For these jars, because i was using them for color samples, i didnt use any type of clear coat or wax – i wanted to show the true colors of the paint. I painted the outside of the jars, but i have also seen some people paint the insides, i guess it would just depend on what you are going to use them for.
You could easily give them a coat of wax or any type of clear coat to seal in the paint if you wanted too.
So what do you think? Super easy project that can be used for so many things!! This would even be really fun to do with the kids because they basically cant be messed up!! And because the jars are so cheap, they would make great gifts with flowers, pencils, treats – whatever!! The possibilities are endless :)


