{laundry room updates}
>
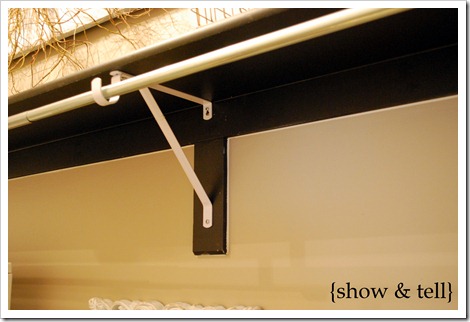
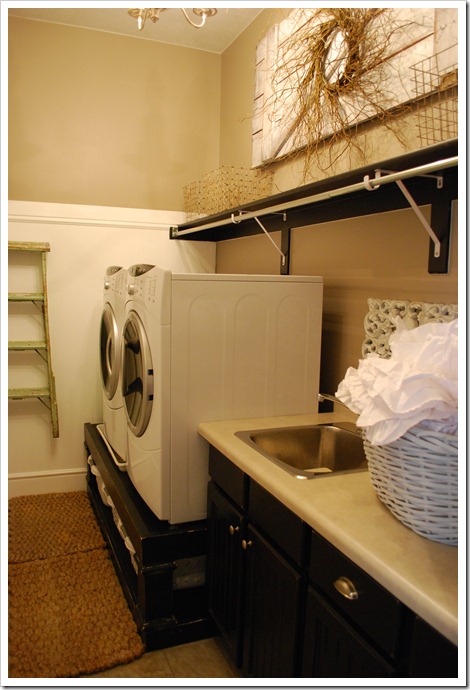
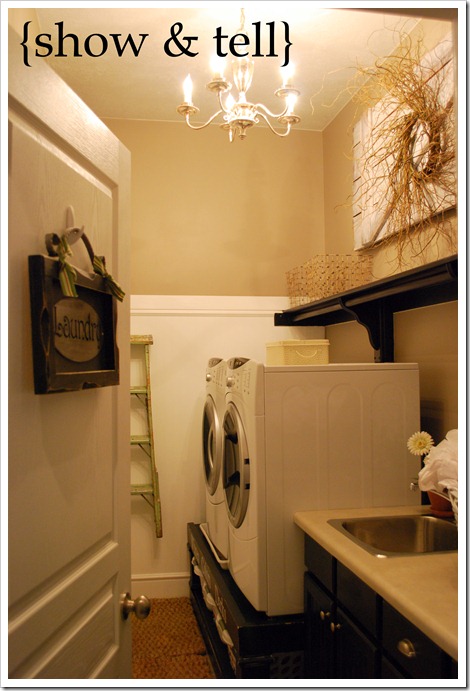
After i posted about my laundry room here, i was looking at the pics and decided that it all looked good except for that metal clothes rod. The rest of the room all flows together and that metal stuck out like a big fat sore thumb :)
See!
So, i decided to fix that little problem and all i spent was $20 for the rod – i love it when i already have stuff laying around that i can finally use :)
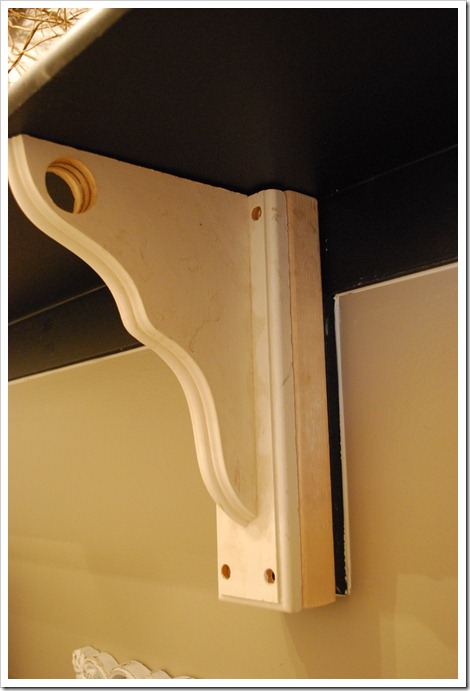
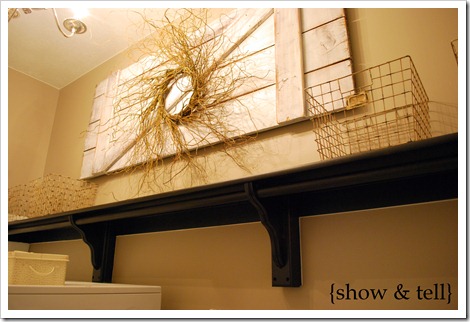
I had some wood shelf brackets, drilled a big round hole for the rod. I had to add a 2×4 behind the bracket to make it stick out a little further so the rod wouldn’t be recessed – otherwise i wouldn’t have been able to hang hangers, not good when your trying to get some laundry done…
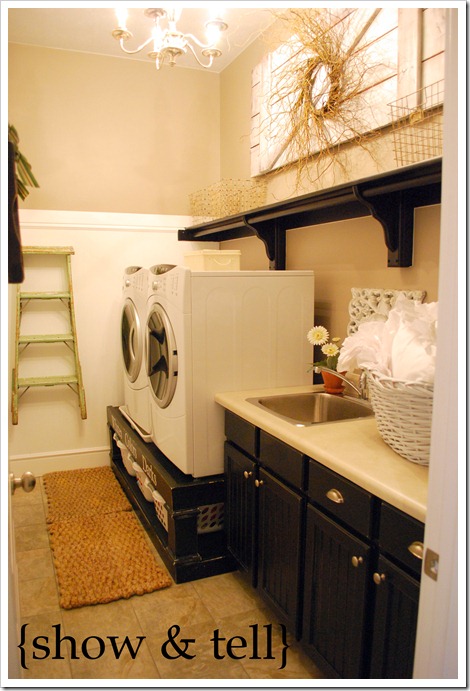
I gave it all a coat of black paint and now it looks soooooo much better. Way more custom looking and such a simple easy project.
And since i took these pics it has occurred to me that i didn’t distress the new rod/brackets – what’s wrong with me! I will need to get on that :)
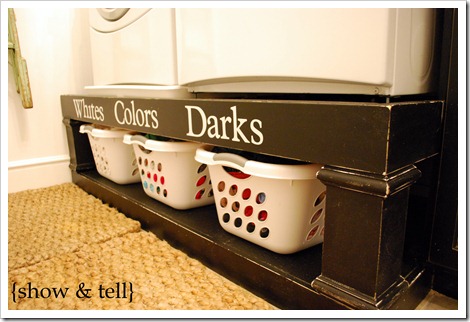
Another little update that i did was add some vinyl to the built – in. Its my sons job to sort clothes, so now he doesn’t have any more excuses to throw everything in one basket!
The vinyl was cut on the cricut. I am not loving the font, i think i might re-do it in something else. Another project for another day…
I have one last final update for the space (for now anyways), i mentioned in my 1st post about m laundry room that i wasn’t diggin the color, well i have a new color in mind and will be painting it in a couple of weeks – so another update will be coming soon :)
By the way, i will be linking up this project to CSI, go check out all the other projects that were made using supplies from the hardware store. I will also be linking up my framed mirror tutorial.

